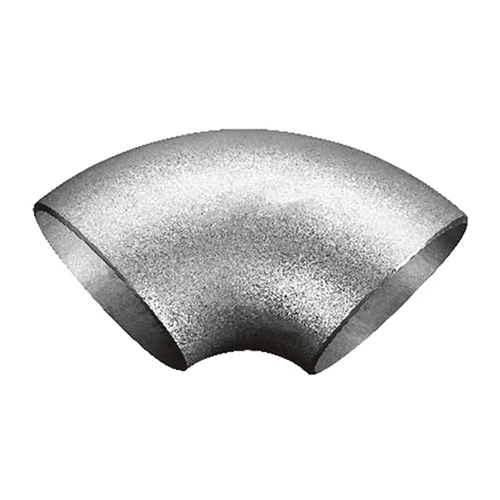
Commonly Used Detection Methods For Stainless Steel Stamping Elbows
Stainless Steel Weld Elbow is a half-ring elbow made of a plate of the same material as the pipe, which is punched into a half-ring elbow with a stamping die, and then the two half-ring elbows are welded together. Due to the different welding standards of various types of pipelines, semi-finished products are usually shipped out of the factory by spot welding, and the on-site construction is welded according to the grade of the pipeline weld. Therefore, it is also called a two-half welded elbow. The production rate of stamping processing is good, and the operation is convenient, and it is easy to realize mechanization and automation. This is because stamping relies on stamping dies and stamping equipment to make steel and special steel. Carbon steel can be divided into low carbon steel, medium carbon steel and high carbon steel according to the carbon content. In the process of use, the corresponding carbon steel is used as the main material with excellent toughness and. Since the ceramic anti-wear coating adopts non-directional steel fiber and directional mesh reinforcement measures, the toughness is further improved through coupling, so the high-pressure alloy thick-walled alloy stamped elbow, stamped high-pressure alloy thick-walled alloy stamped elbow, cast high-pressure alloy thick-walled alloy stamped elbow, etc. According to the way of connection with the pipe, it can be divided into: direct welding.
What are the common detection methods for stainless steel pipe fittings? Let's talk about it in detail:
1. Upset test: hammer or forge a sample of a specified size. Test to check the ability of alloy steel elbows to accept plastic deformation of upset at room temperature or hot conditions and show its defects. Upset test conducted at room temperature is called room temperature upset test, also known as cold upset test. Upset test conducted under hot conditions is called hot upset test;
2. Pipe curling test: press the top of a specified shape into one end of the metal pipe, so that the pipe wall is rolled evenly to the specified size, and the ability of the pipe wall to accept plastic deformation of external rolling and show its defects;
3. Pipe hydraulic test: alloy steel elbow manufacturers fill the metal pipe with water or specified liquid, and accept specified pressure within the corresponding time to check the quality and strength of the elbow and show its defects;
4. Hardenability: refers to the ability of steel to accept quenching after austenitization, or the tendency of austenite to change to martensite, which is often described by the depth of the hardened layer. The hardened layer refers to the distance from the surface to the semi-martensite layer. For alloy structural steel, the method for testing hardenability is mainly the standard structural steel end quenching test method in my country;
5. Machinability: The performance of elbow materials when processed with cutting tools. When cutting or grinding, it is easy to achieve a good surface processing accuracy, and the tool is not easy to wear, the chips are easy to fall off, and the cutting force is small, which all indicate that the metal material has good machinability.
6. Bending test: Use a standard bending center to bend the sample to a regular degree to test the ability of the metal to withstand bending plastic deformation and reveal its defects. Generally, the diameter of the bend core, the bending angle and the requirements for the surface of the bend should be specified;
VII. Pipe bending test: bend the sample to a specified degree at the grooved bend core to check the ability of the elbow to withstand plastic deformation due to bending and show its defects;
VIII. Pipe flattening test: flatten the metal pipe to a specified standard to check its plastic deformation ability and show its defects;
IX. Pipe expansion test: press the top of the specified taper into one end of the metal pipe to expand the diameter evenly to the specified standard to check the ability of the elbow to radially expand plastic deformation and show its defects;
X. Repeated bending test: clamp one end of the sample. Repeated reverse bending of 90 degrees is performed on the cylindrical surface of the specified radius to check the metal's ability to withstand repeated bending and show its defects.
