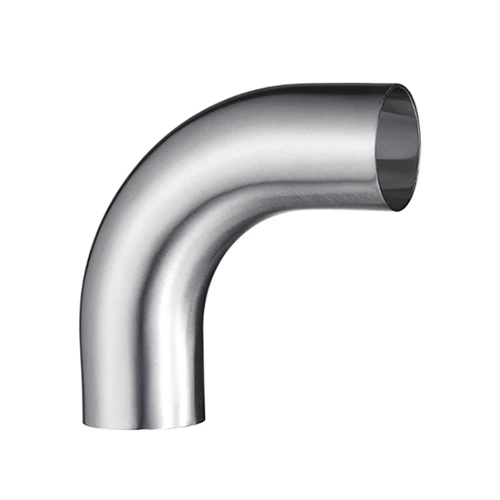
Manufacturing Process And Appearance Inspection Of Stainless Steel Stamping Pipe Elbows
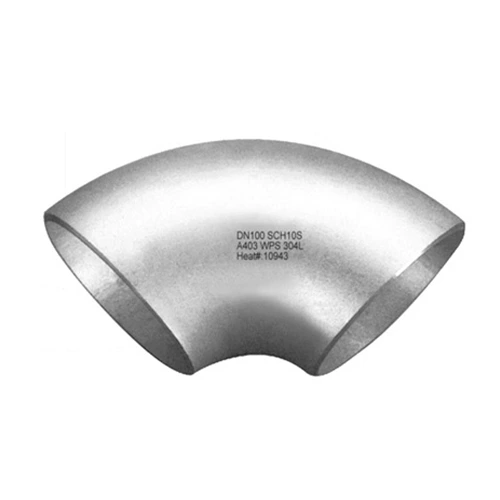
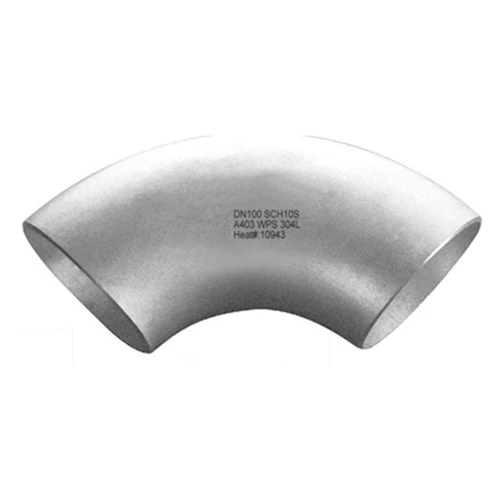
Stainless steel stamping pipe fittings are the earliest forming process used in mass production of seamless elbows. At present, the production of commonly used standard elbows has been replaced by hot pushing or other forming processes, but in some standard elbows, due to the small production quantity and too thick or too thin wall thickness, the stainless steel elbow forming method is still used. The stamping forming of the elbow uses a tube blank with the same outer diameter as the elbow, and uses a press to directly restrict the forming in the mold. Before stamping, the tube blank is placed on the lower die, the inner core and the end die are loaded into the tube blank, and the upper die moves downward to start restricting. The elbow is formed by the constraint of the outer die and the support effect of the inner die. Compared with the hot pushing process, the appearance quality of stamping is not as good as the former; the outer arc of the stamped elbow is in a stretched state during forming, and there is no remaining metal in other parts to compensate, so the wall thickness at the outer arc is thinned by about 10%. Due to its suitability for single-piece production and low cost, the stamping elbow process is mostly used for the manufacture of small batches and thick-walled elbows.
Let's talk about the common manufacturing process of stainless steel stamping pipe fittings:
1. Conventional treatment: The purpose is to improve the properties of the cast iron structure.
2. Surface hardening layer transformation: As the name suggests, it can enhance the hardening effect on the surface.
3. Quenching transformation: This step can be used to further improve the hardness of the elbow, and the performance from the inside to the outside will rise collectively.
4. Stainless Steel Weld Elbow After softening, slowly extinguish the flame: The function of this operation is to decompose carbides and reduce its hardness, but it can enhance the processing function, so that more fertile iron elements can be obtained.
5. Let the stainless steel elbow precipitate hardening transformation: maximize the strength of this aspect of its surface, but will not cause the outer shape to change due to ductility.
Elbow appearance inspection: Generally, it is mainly observed with the naked eye. Through appearance inspection, surface defects of welded elbow welds can be found, and sometimes a 5-20 times magnifying glass is used for observation. Such as undercut, pores, weld nodules, surface cracks, slag inclusions and weld penetration. The outer dimensions of the weld can also be measured using a weld detector or a sample.
Nondestructive testing of elbows: Testing for defects such as slag inclusions, pores, cracks, etc. hidden inside the weld. X-ray testing uses X-rays to photograph the weld and judge whether there are defects inside, the number of defects, and the type of defects based on the film image. Currently, X-ray testing is commonly used, as well as acoustic testing and magnetic testing. The weld is then evaluated based on the product technical requirements to determine whether it is qualified. At this time, reflected waves appear on the fluorescent screen. By comparing and identifying these reflected waves with normal waves, the size and location of the defects can be determined. Special wave flaw detection is much simpler than X-ray photography, so it is widely used. However, acoustic flaw detection can often only be judged based on operating experience, and no inspection basis can be left.
