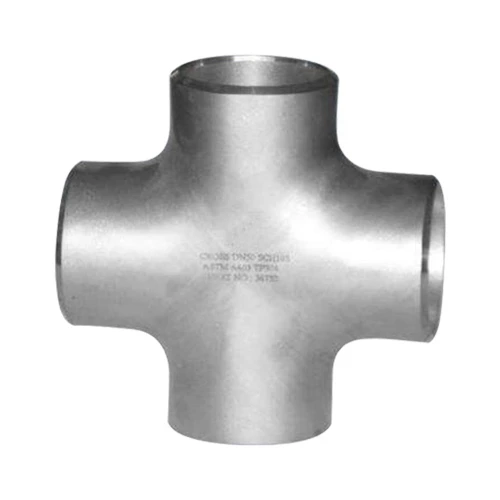
The Ability Of Materials In Stainless Steel Pipes To Resist Fracture
Stainless Steel Weld Fitting the greater the yield strength, the stronger its ability to resist plastic deformation, and the less likely it is to undergo plastic deformation. The maximum stress before the material breaks under normal temperature and load is called tensile strength, which is represented by the symbol and the unit is or. It indicates the material's ability to resist fracture. The larger the value, the stronger the material's ability to resist fracture.
The ability of plastic metal materials to produce plastic deformation without destruction under external force is called plasticity. Many elbows and hairs are formed by plastic deformation, which requires the material to have a high plasticity, and to prevent brittle fracture of parts during operation, the material is also required to have a certain plasticity. Plasticity is also one of the main mechanical properties of metal materials. The plasticity index of metal materials can be determined by tensile testing. Commonly used plasticity indexes include elongation after fracture and section shrinkage. The calculation formulas are and respectively. The larger the value, the better the plasticity of the metal material. Introduction Generally, materials with a value of are called plastic materials, and materials with a value of are called brittle materials. For example, cast iron is a typical brittle material; low carbon steel is a material with good plasticity among ferrous metals. Its good plasticity can not only ensure the smooth progress of pressure processing and, but also ensure the reliability of parts during operation and prevent sudden breakage. Hardness Hardness is the ability of a metal material to resist the pressure of a hard object on its surface or the ability of a metal material surface to resist local plastic deformation. Common hardness determination methods include Brinell hardness, Rockwell hardness and Vickers hardness test methods. Brinell hardness test method 1 stipulates that with a certain test force, a tungsten carbide alloy ball with a diameter is pressed into the surface of the metal to be tested and held for a certain period of time, and then the test force is removed to obtain an indentation with an average diameter of. The Brinell hardness is proportional to the quotient of the test force divided by the surface area of the indentation.
The indentation is regarded as a sphere with a certain radius. The surface area of the indentation is calculated by the average diameter of the indentation and the diameter of the indenter. Brinell hardness is expressed in, that is, Brinell hardness is expressed as "hardness value ball head diameter test force size test force holding time". For example, a carbide ball with a diameter is expressed in, and under the test force of, the Brinell hardness value measured when it is held is. The Brinell hardness measurement accuracy is high, but because the indentation is deep and the area is large, it is not suitable for testing the hardness of too thin samples and finished parts. The Rockwell hardness test method uses a certain test force to press the diamond cone carbide ball of the indenter into the metal surface to be tested. The method of determining the hardness value of the metal material to be tested based on the indentation is called the Rockwell hardness test method. The Rockwell hardness test method is simple and rapid to measure hardness, with a small indentation, and a wide range of materials that can be measured. However, the indentation is small, and the stainless steel pipe fittings manufacturer introduces that for materials with uneven organization and hardness, the measured results are not accurate enough. Therefore, it is necessary to measure three points on the test piece and take the average value. Vickers hardness test method Vickers hardness uses a four-sided pyramid diamond indenter with an angle of , presses into the surface of the material with a certain test force, keeps it for a specified time, removes the test force, and measures the hardness calculated by the diagonal length of the indentation on the surface of the sample, which is the Vickers hardness, which is used to express.
