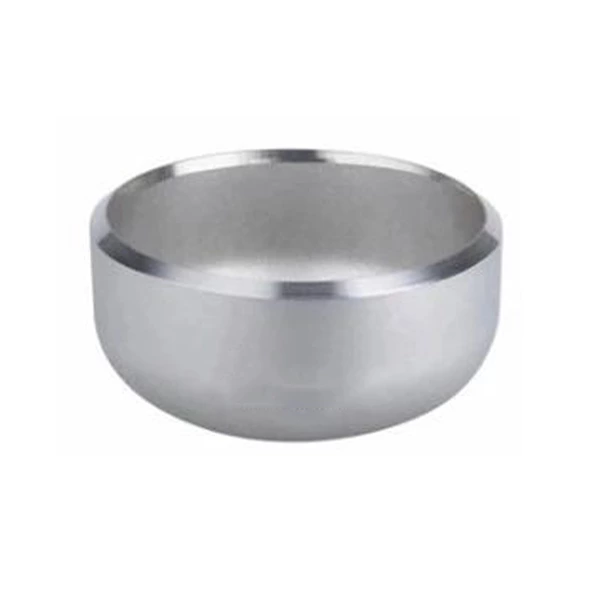
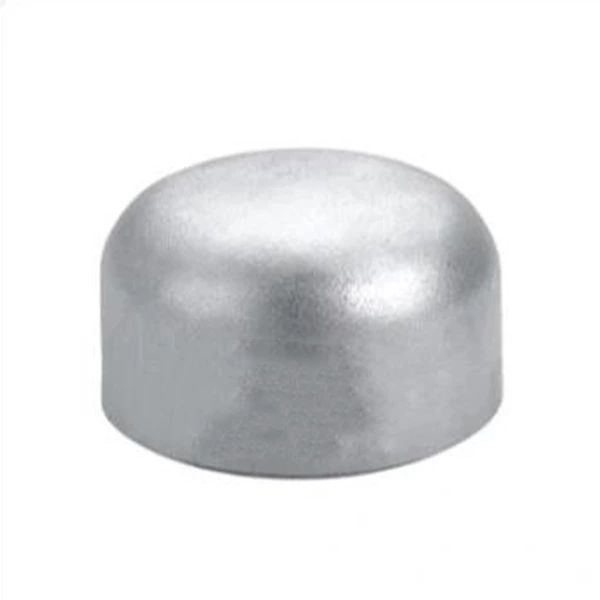
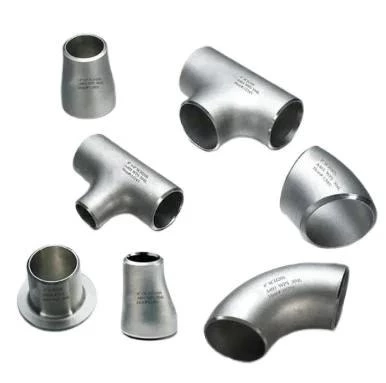
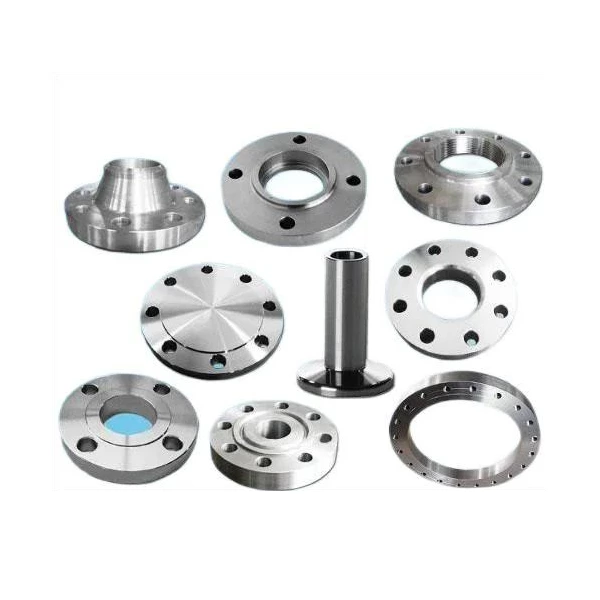
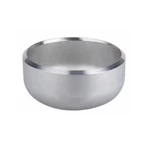
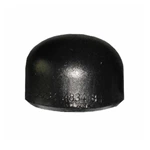
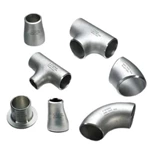
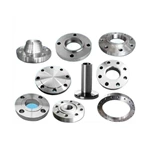
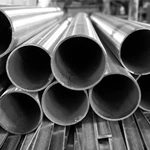
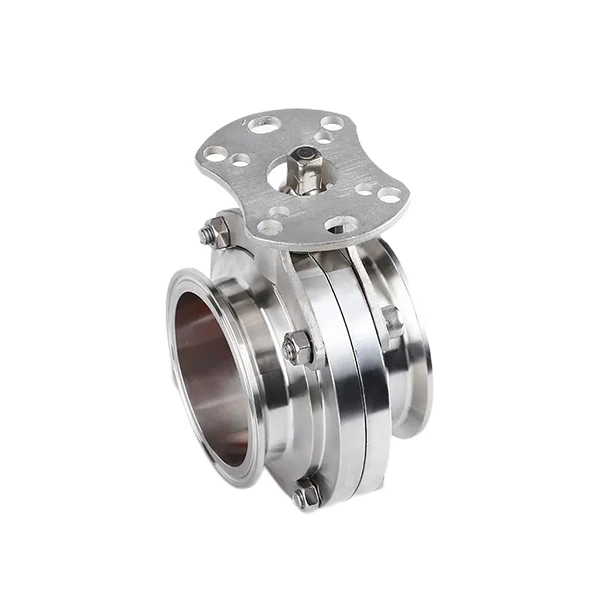
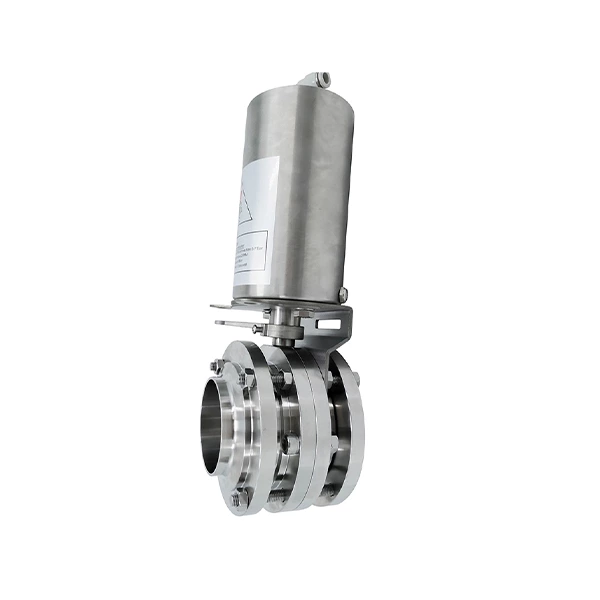
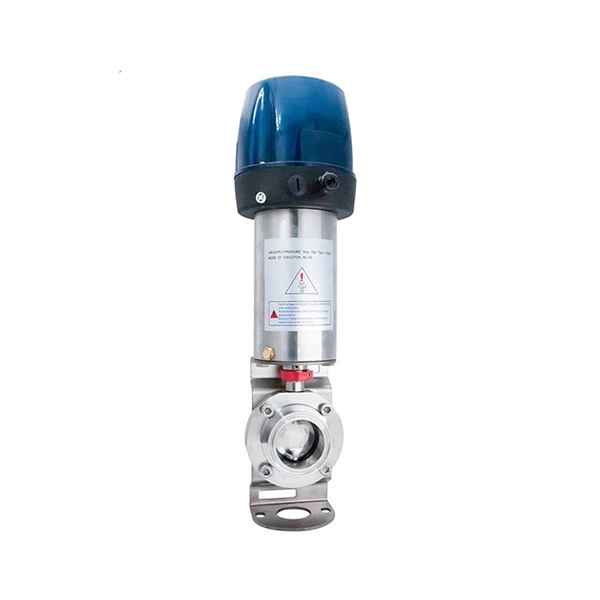
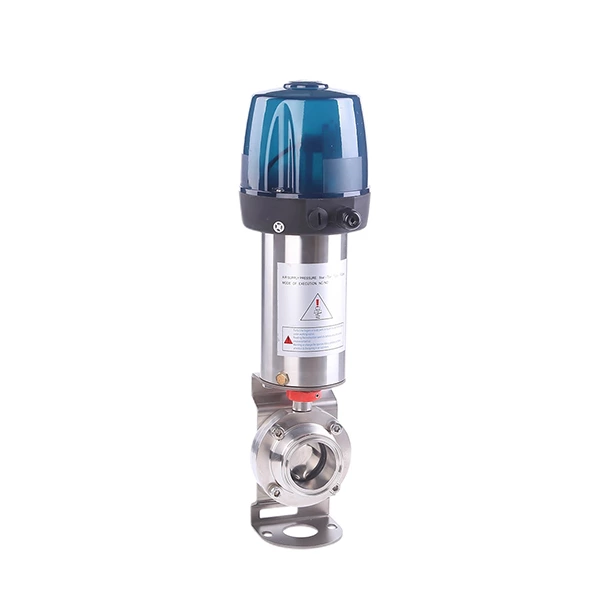
Stainless Steel Seamless Pipe Flange End Cap
- Certification:
- CE, ISO9001/2008, 3A
- Transport Package:
- Shrink wrapped/ carton/ pallet. Or as per the request of customers
- Payment:
- T/T, L/C, Western Union
- Medium:
- Water, Oil
- Material:
- SS304 SS316
- Connection:
- Welded
- Specification:
- DN15-DN1200
- Standard or Nonstandard:
- 3A/ DIN/ SMS/ ISO/ IDF/ JIS
- Surface treatment:
- mirror polish,matte polish
Stainless Steel Seamless Pipe Flange End Cap
The pipe cap is a pipe fitting welded on the pipe end or installed on the external thread of the pipe end to cover the pipe
Stainless steel pipe cap is also called plug or head. The pipe cap includes the design of convex pipe cap, conical shell, reducing section, flat cap and tight mouth.
Stainless steel material: 304 304L 316 316L 321 2520 310, 317, etc
Diameter: DN15-DN1200
Wall thickness: SCH5-SCH160
Standard: ASME DIN JIS BS GB/T JB SH HG
Applications: water, beverage, beer, food, petrochemical, nuclear power, machinery, medical equipment, fertilizer, shipbuilding, waterproof treatment, pipes, etc., pipe fittings welded on the pipe end or installed on the external thread of the pipe end to cover the pipe. It is used to close the pipeline and has the same function as the plug.
Packaging: wooden box, carton service: technical consultation, installation guidance, etc
The r part of the dished pipe cap shall not be spliced, which will reduce the thickness and high stress.
During splicing, only radial and circumferential weld directions are allowed. This requirement may be cancelled in the future for large pipe caps. The splicing distance shall be more than 3 δ, It shall not be less than 100mm (the welding heat affected zone is a high stress zone, and the chemical composition in this zone will be burned. Therefore, it is necessary to avoid the high stress zone, which is related to the thickness. According to practical experience, the stress attenuation length is greater than 3 δ, And not less than 100mm). However, refrigeration equipment is difficult to meet this requirement, which has its particularity.
100% radiographic or ultrasonic testing shall be carried out on the splicing weld of the formed head after splicing, and the qualification level shall follow the equipment shell. The inspection level and proportion of the final formed weld are the same as that of the equipment shell, which is high waste.
For example, if the equipment shell is 20% tested, III is qualified. The butt weld and final weld of the bulkhead are also qualified as III, and the welding joint coefficient is 0.85;
If the equipment shell is 100% tested, II is qualified. The butt weld and the final weld of the bulkhead are also II qualified, and the welding joint coefficient is 1
Therefore, although the bulkhead splicing is 100% tested, the qualification level is different, which follows the equipment shell.
But pay attention to the process and manufacturing process:
The correct method is: blanking (scribing) - small plates assembled into large plates - forming - NDT
If the inspection is not conducted before forming, it is wrong to ensure that it is still qualified after forming. That is to say, NDT refers to the final NDT.
